Configuring custom views
How an administrator or consultant designs the shared views of a custom application — columns, default filters, sort order and sharing level — so every team starts from a list that fits their work.
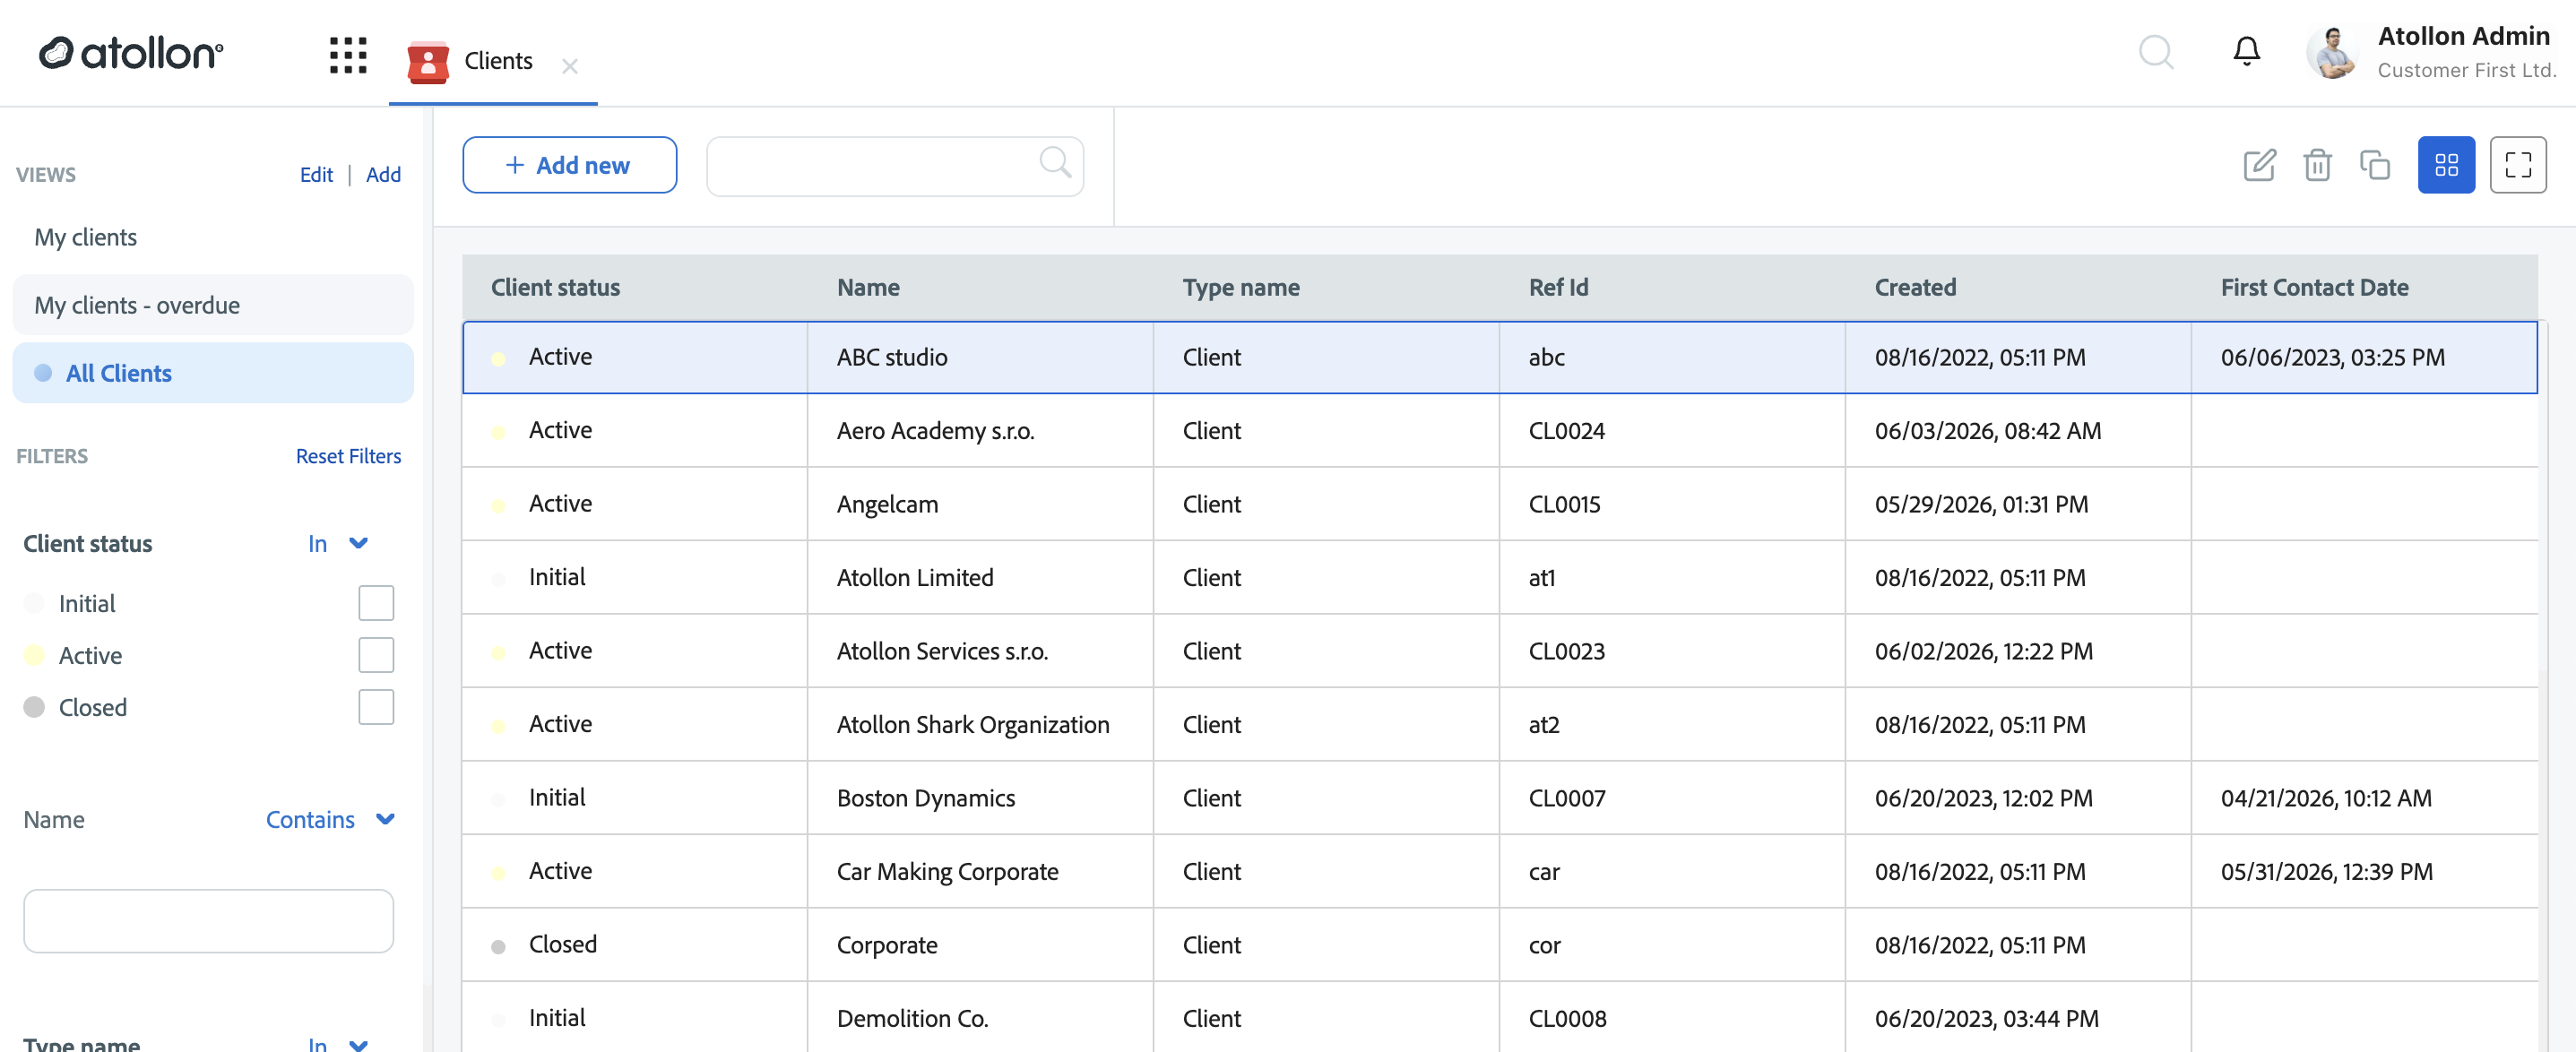
A custom view is a saved list configuration — columns, filters and sort order — inside a custom application. Views are what users actually see when they open an app: the left panel lists the available views on top and the active view's filters below. Designing a small set of good shared views is the difference between an app the team adopts on day one and a generic list nobody uses.
Before you start
- The application exists (Creating a custom application).
- Its form schema activates every field you want as a column or filter (Managing form schemas). The view designer can only offer what the schema provides. Field captions and grouping come from the schema too — that is where terminology is adapted to the audience.
Creating a view
- Open the custom application. In an unconfigured app the left panel is empty and offers creating the first view; in a configured app use Add (next to VIEWS) for a new view or Edit for an existing one.
- Name the view for its purpose — "All Clients", "My clients — overdue", "Deals — this quarter". Users choose views by name, not by their filters.
- Pick columns from the schema's fields, and their order. Fields are grouped as defined in the schema and carry their customised captions.
- Add default filters — the filters the view opens with. Any schema field with filtering enabled is available; a view can filter on fields it does not display (for example filter Clients by Type name while not showing the column).
- Set the sort order.
- Choose the sharing level — who gets the view: Admins typically maintain the Organisation and Profile views; users create Personal ones (see Working with views and filters).
- Organisation — Everyone in your organisation.
- Profile — Users with a given profile/role.
- Personal — Only you.
- Save. The first view by priority becomes the app's default — put the broadest, safest view first (for example "All Clients").
Display modes: table, card and kanban
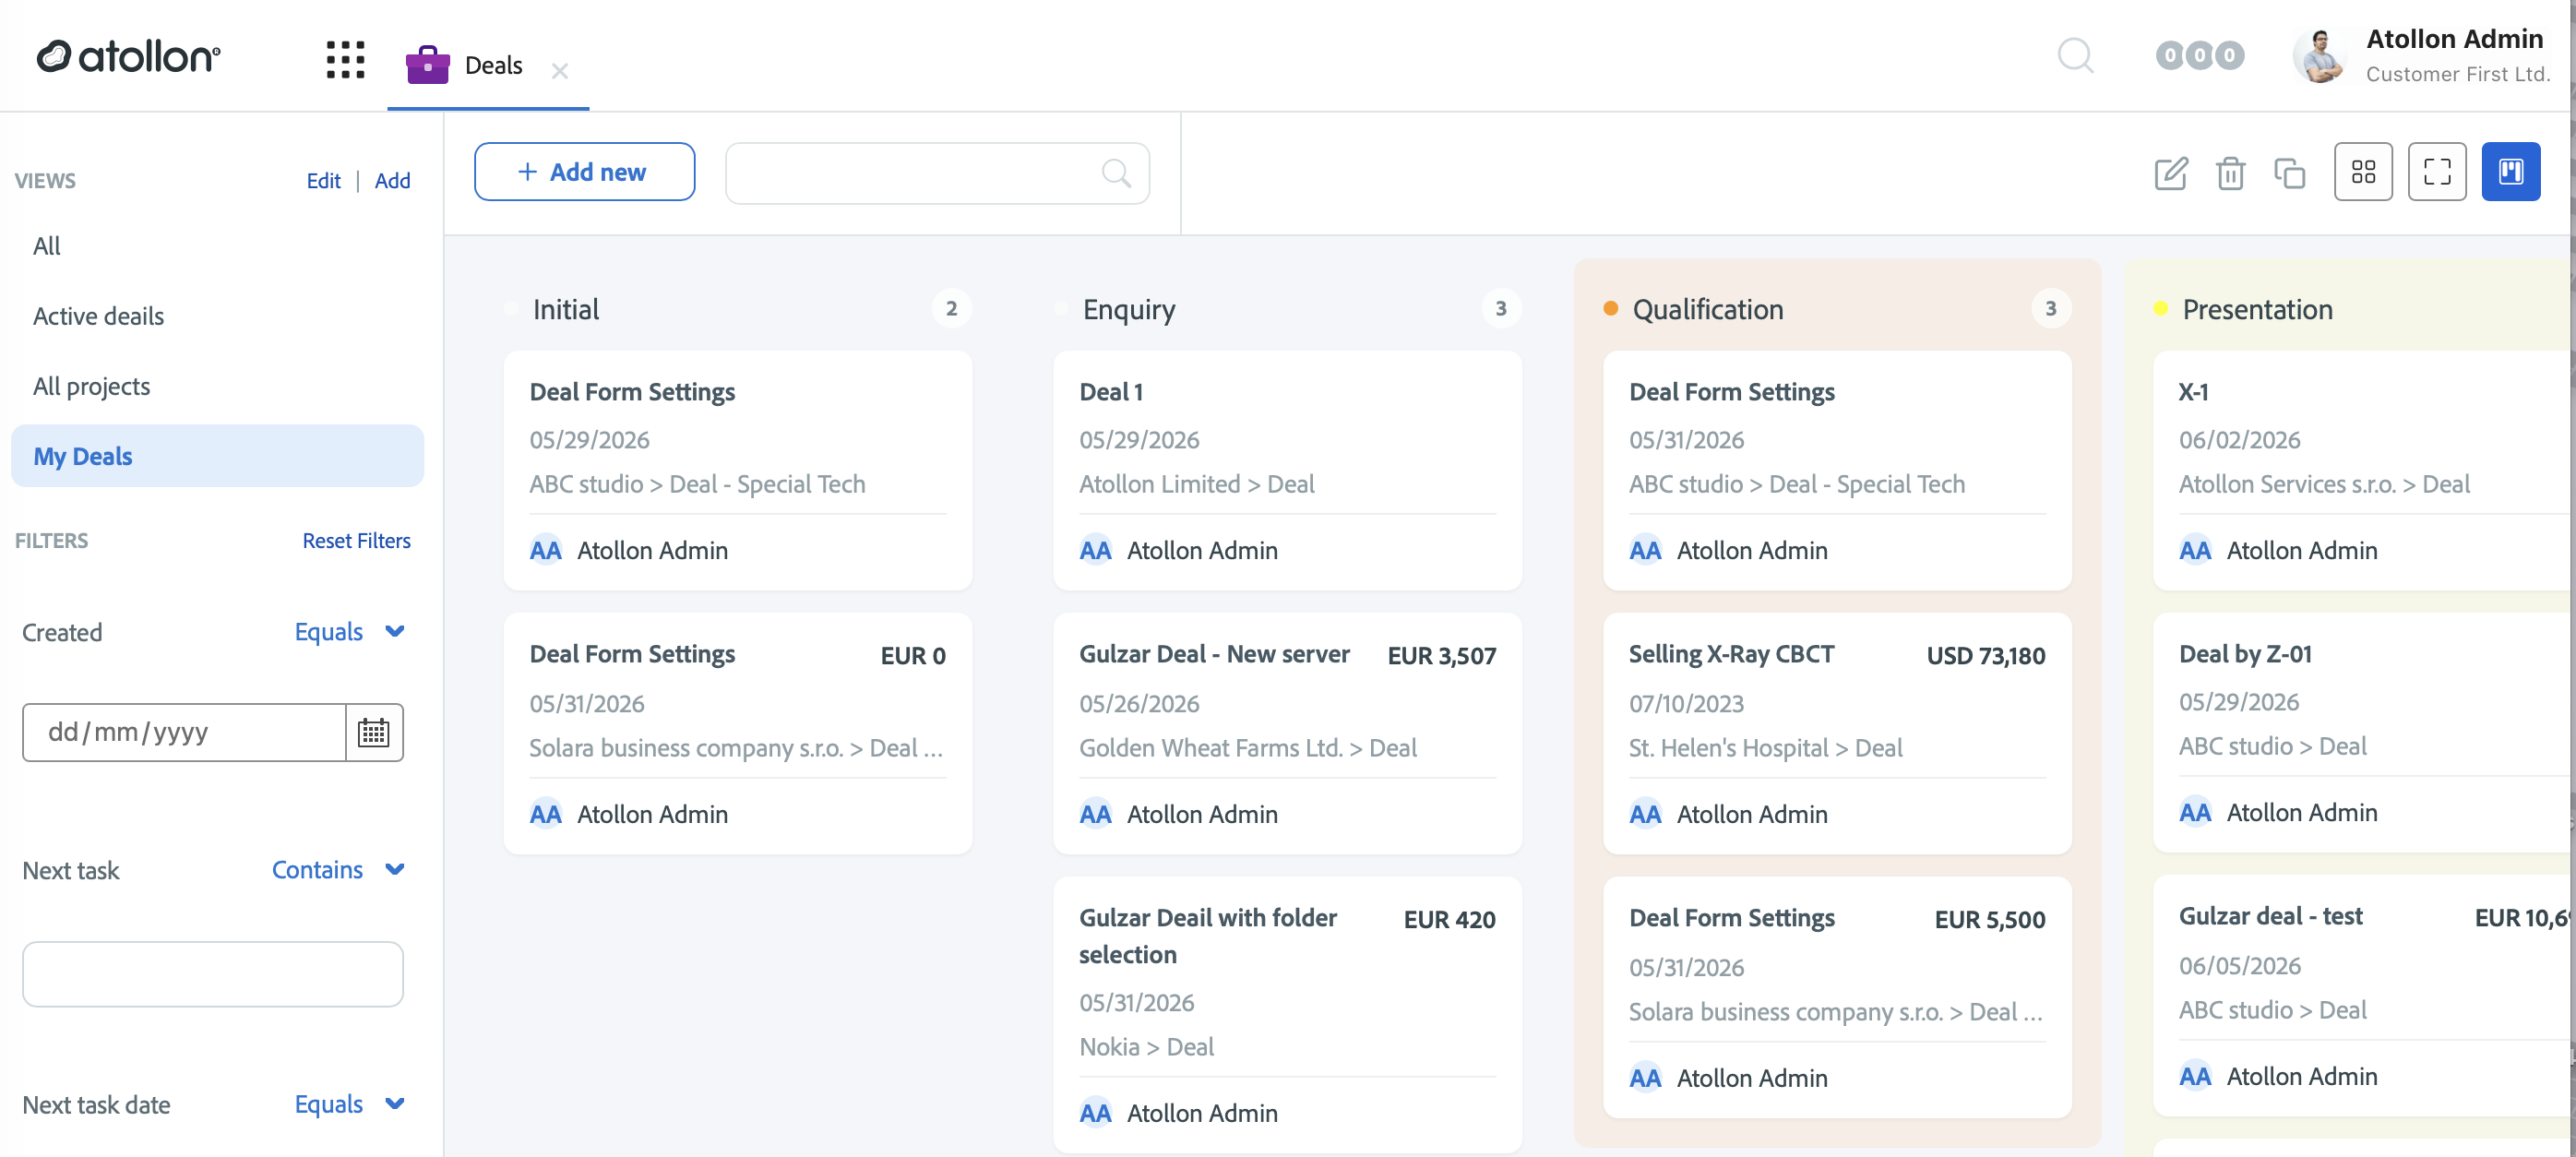
Each view renders in the display mode users pick in the app's toolbar: a dense table, visual cards, or a kanban board that groups records into columns by their status field. When designing a view, think about its likely mode: kanban-style pipeline views need a status field with well-maintained states (they become the board's columns — Deals and Leads are the canonical cases); card-oriented views should lead with the fields that make a record recognisable at a glance (name, state, client, date).
Admin entry point into schemas
From the view configuration, admin users get a shortcut button into the form schema behind the view — useful when a requested column or filter turns out to be missing from the schema. The button is not visible to regular users.
Design guidelines
- Fewer, sharper views. Three views a team understands beat ten they ignore. One broad view ("All …"), one or two role-scoped working views ("My …", "… — overdue").
- Filter-only fields are your friend. Keep tables narrow; move qualifiers (type, region, owner) into filters.
- Name from the user's perspective, and keep captions consistent with the schema so filters and columns say the same thing.
For per-app view recipes (Clients, Leads, Suppliers, Deals, Installed Technology, Service Activities, Protocols), see the recommendations in Working with views and filters.