Creating a custom application
How an administrator creates a new custom application in Reef — choosing the application type (Folders, Projects or Activities), naming it in multiple languages, picking an icon and setting its URL.
Administrators create custom applications in Reef under Options & Tools. A new application is available to users in the app launcher immediately after it is created — configuring its fields and views are separate follow-up steps.
Prerequisites
- Administrator access to Reef (the Options & Tools area is admin-only).
- A clear idea of what the app tracks — this decides the application type and, later, which folder/project/activity types feed it.
Steps
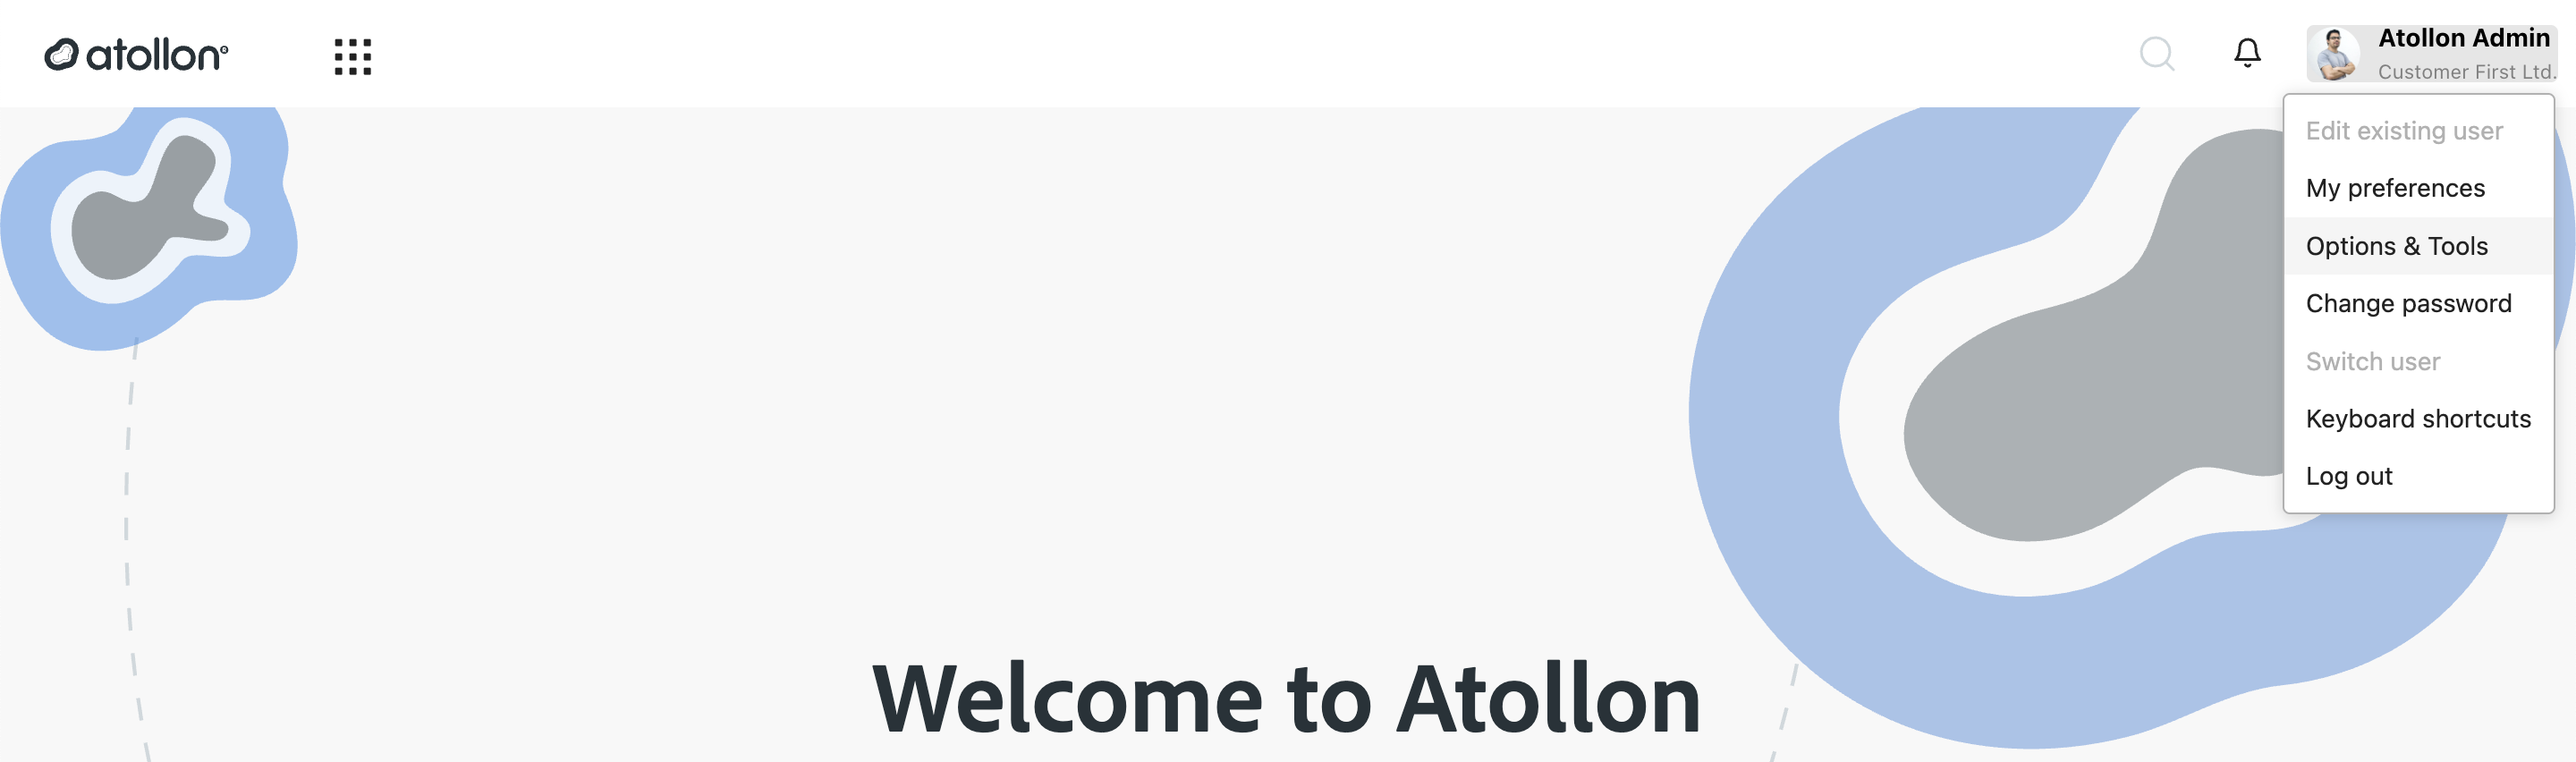
- In Reef, open your profile menu (top-right avatar) and choose Options & Tools.
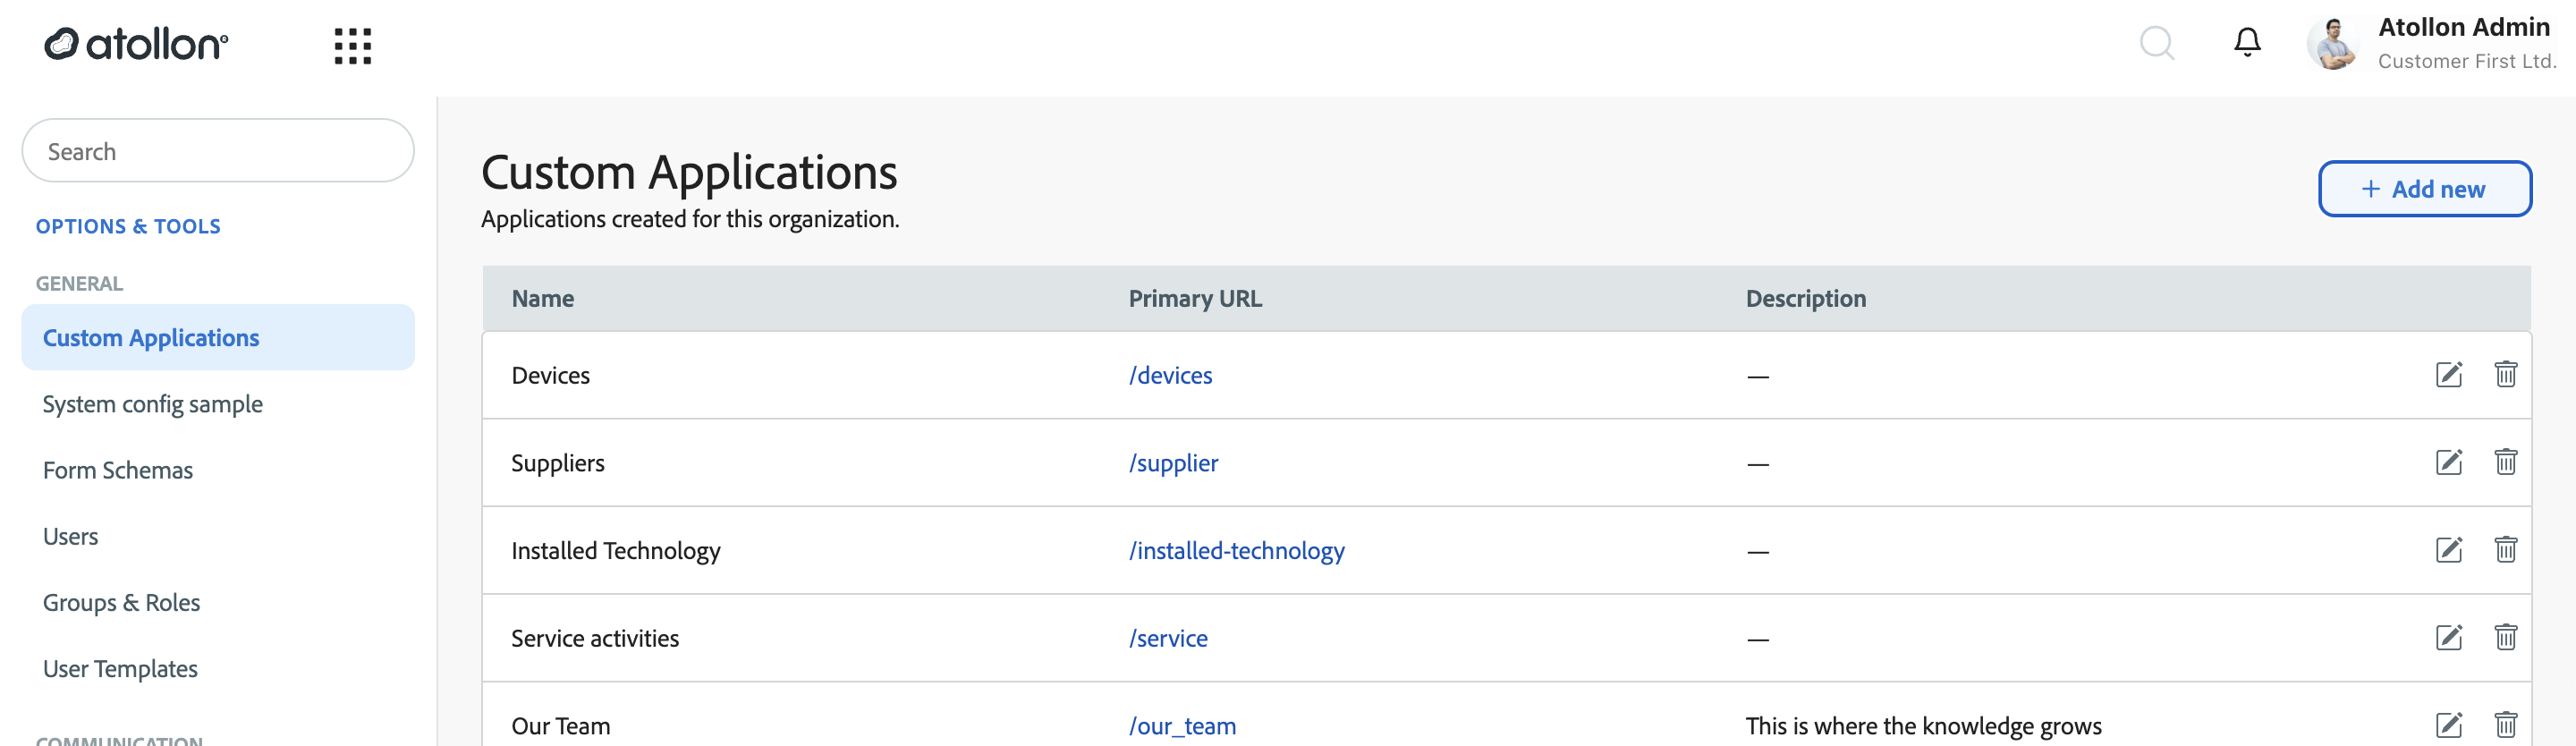
- In the left menu under General, open Custom Applications. The list shows the applications already created for this organisation with their primary URLs.
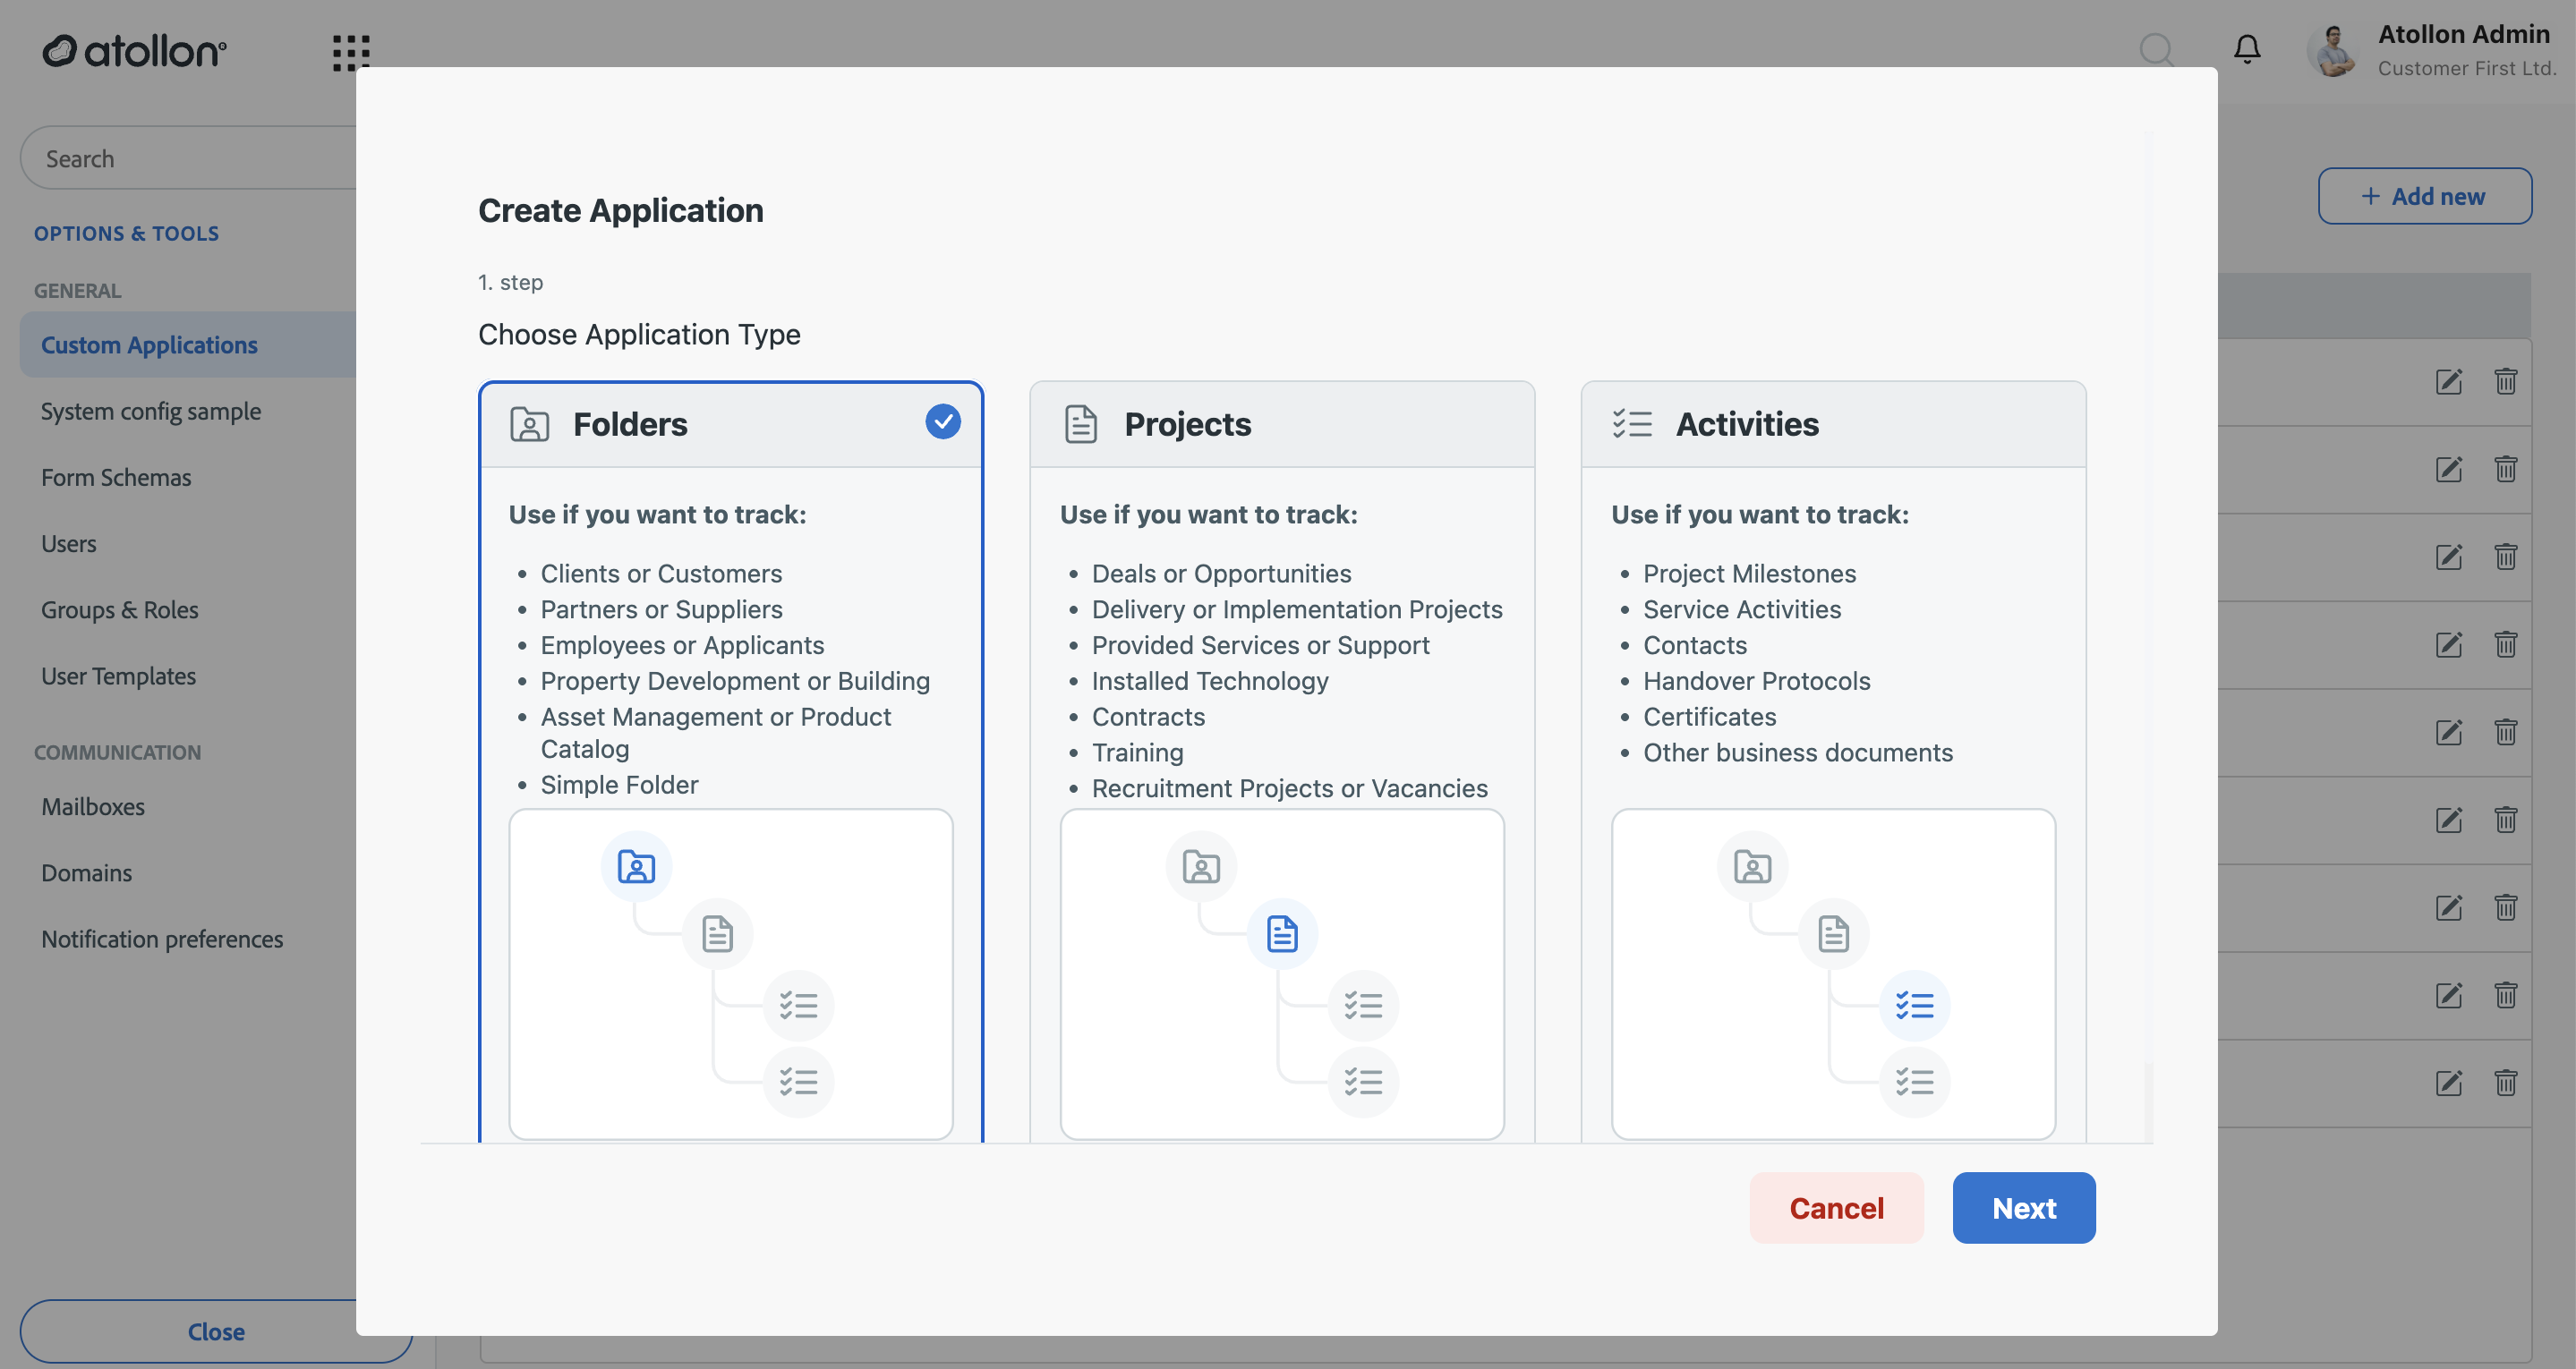
- Select + Add new. In step 1 — Choose Application Type, pick what the app will track:
- Folders — clients or customers, partners or suppliers, employees or applicants, property, asset/product catalogs, or simple folders.
- Projects — deals or opportunities, delivery projects, provided services or support, installed technology, contracts, training, recruitment vacancies.
- Activities — project milestones, service activities, contacts, handover protocols, certificates, other business documents.
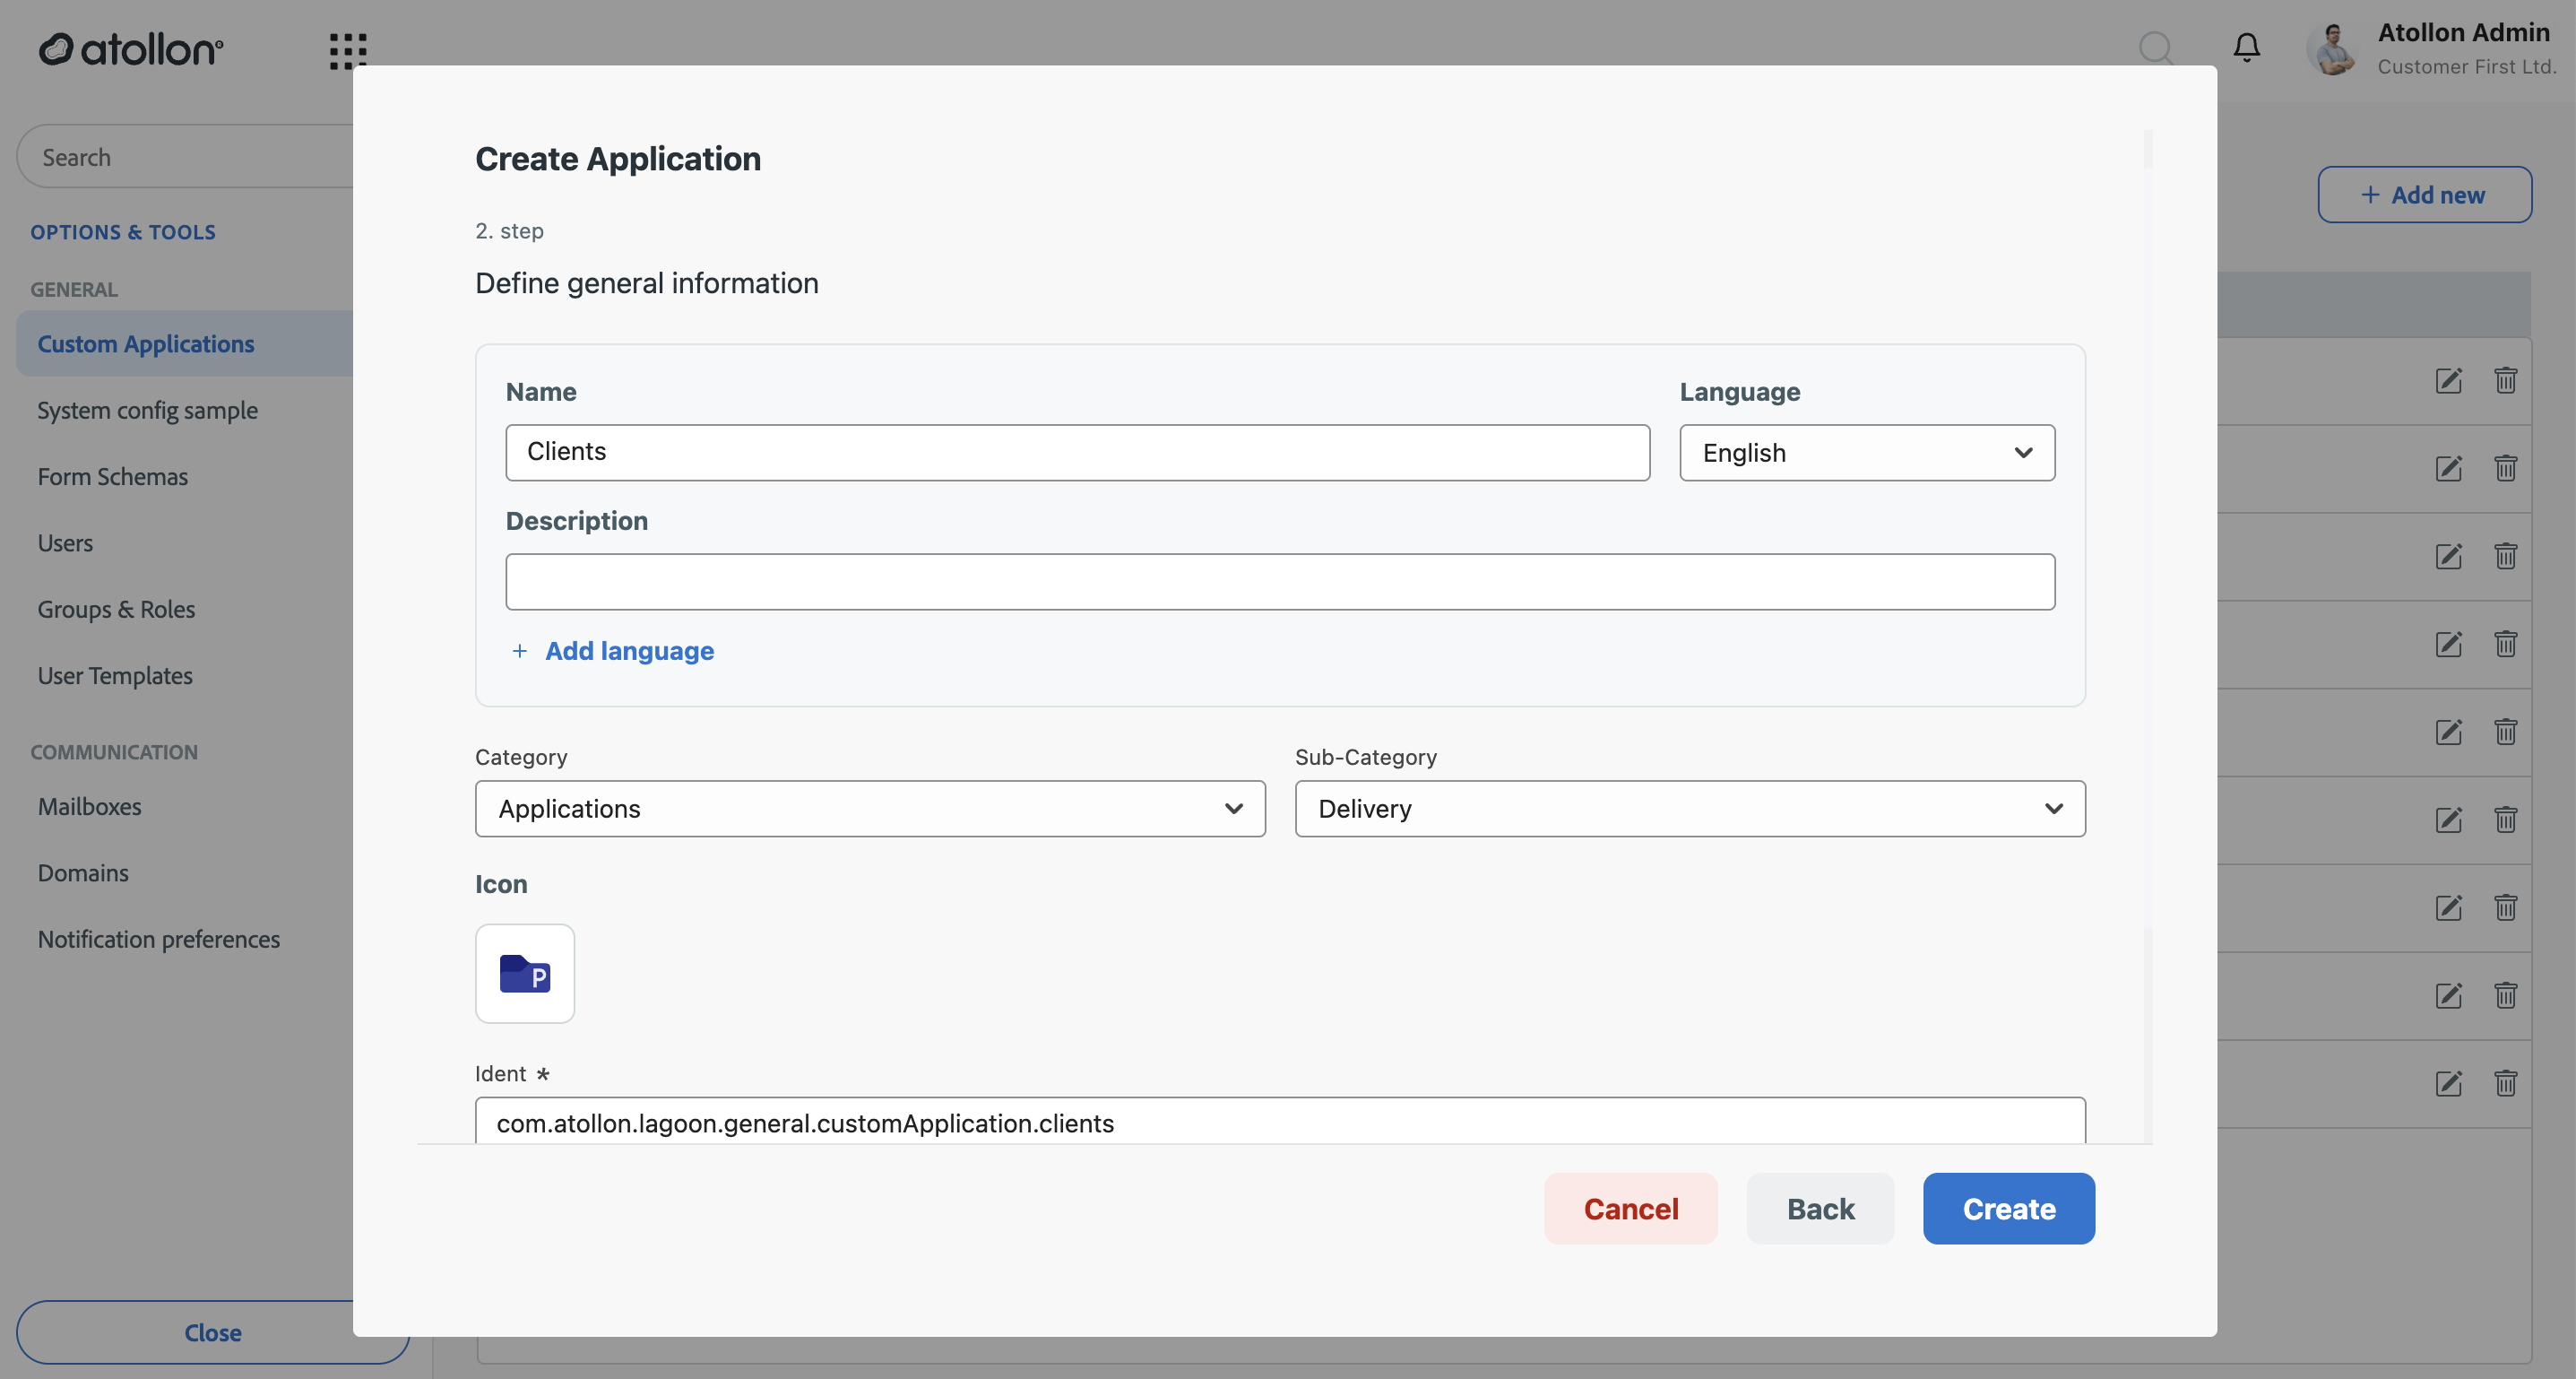
- Select Next. In step 2 — Define general information:
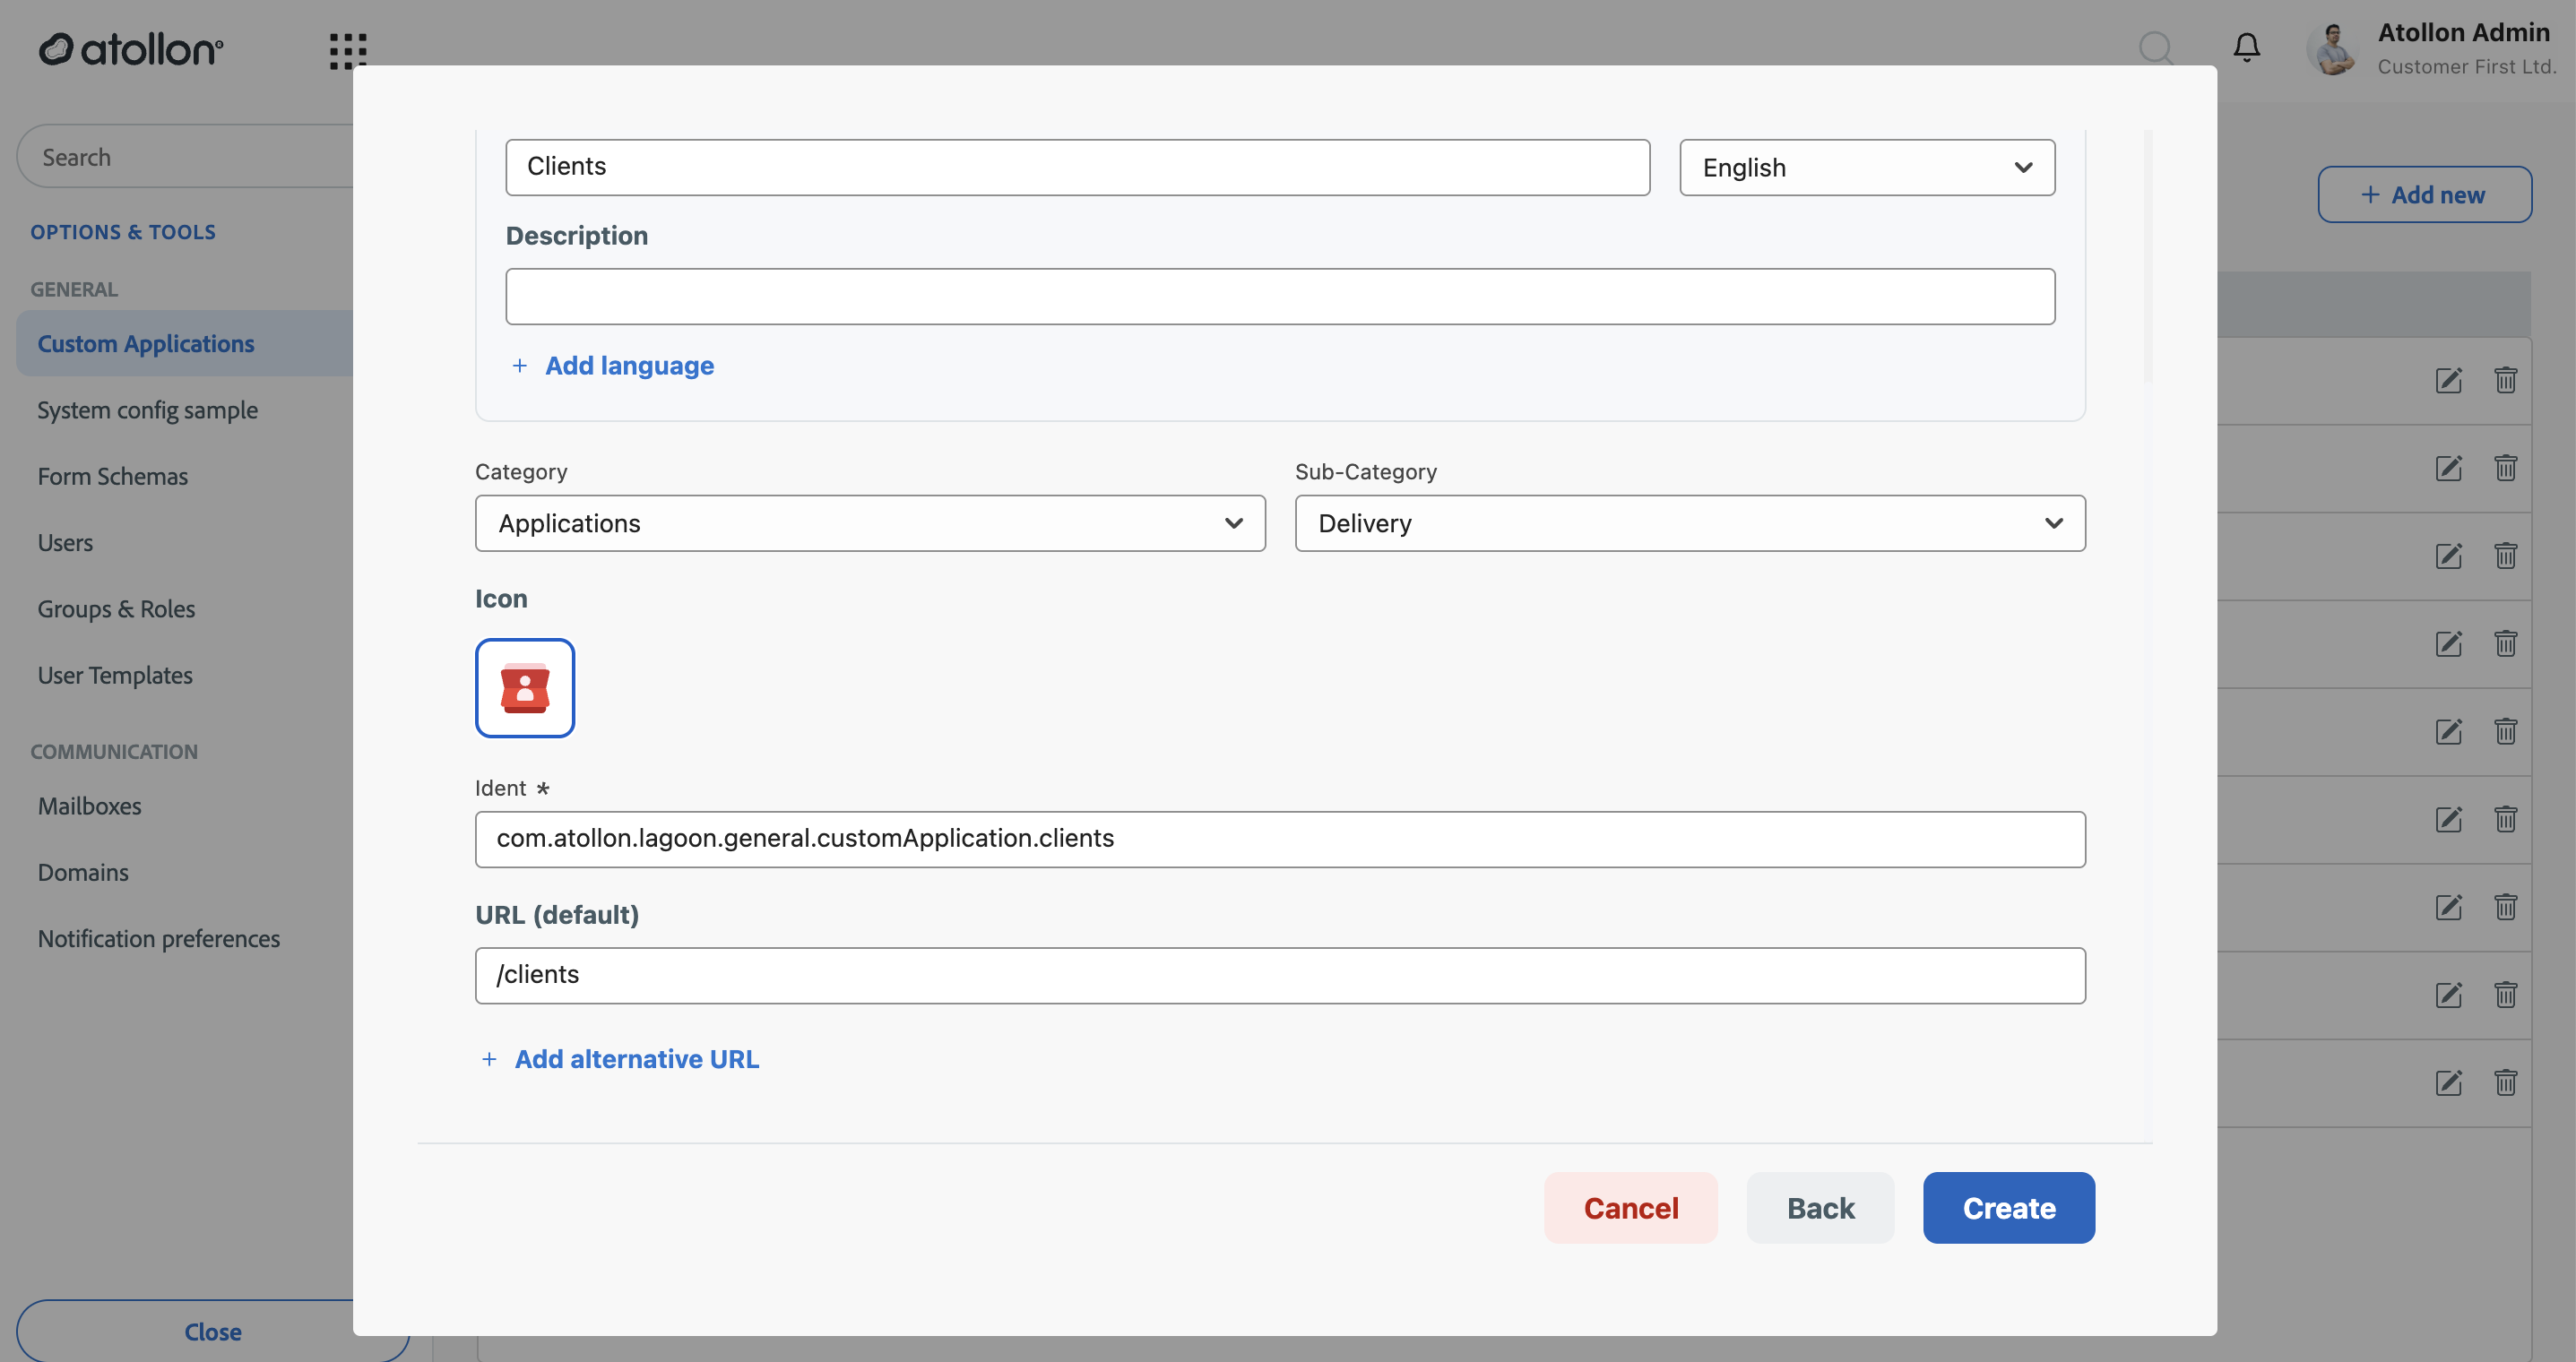
- Name and Description — what users see in the launcher. Use + Add language to provide translations per user language. **The app is only visible to users whose interface language it is named in** — add a name for every language your users work in (for example English and Czech); a missing localisation hides the app for those users.
- Category and Sub-Category — where the app appears in the launcher grouping (for example Applications / Delivery).
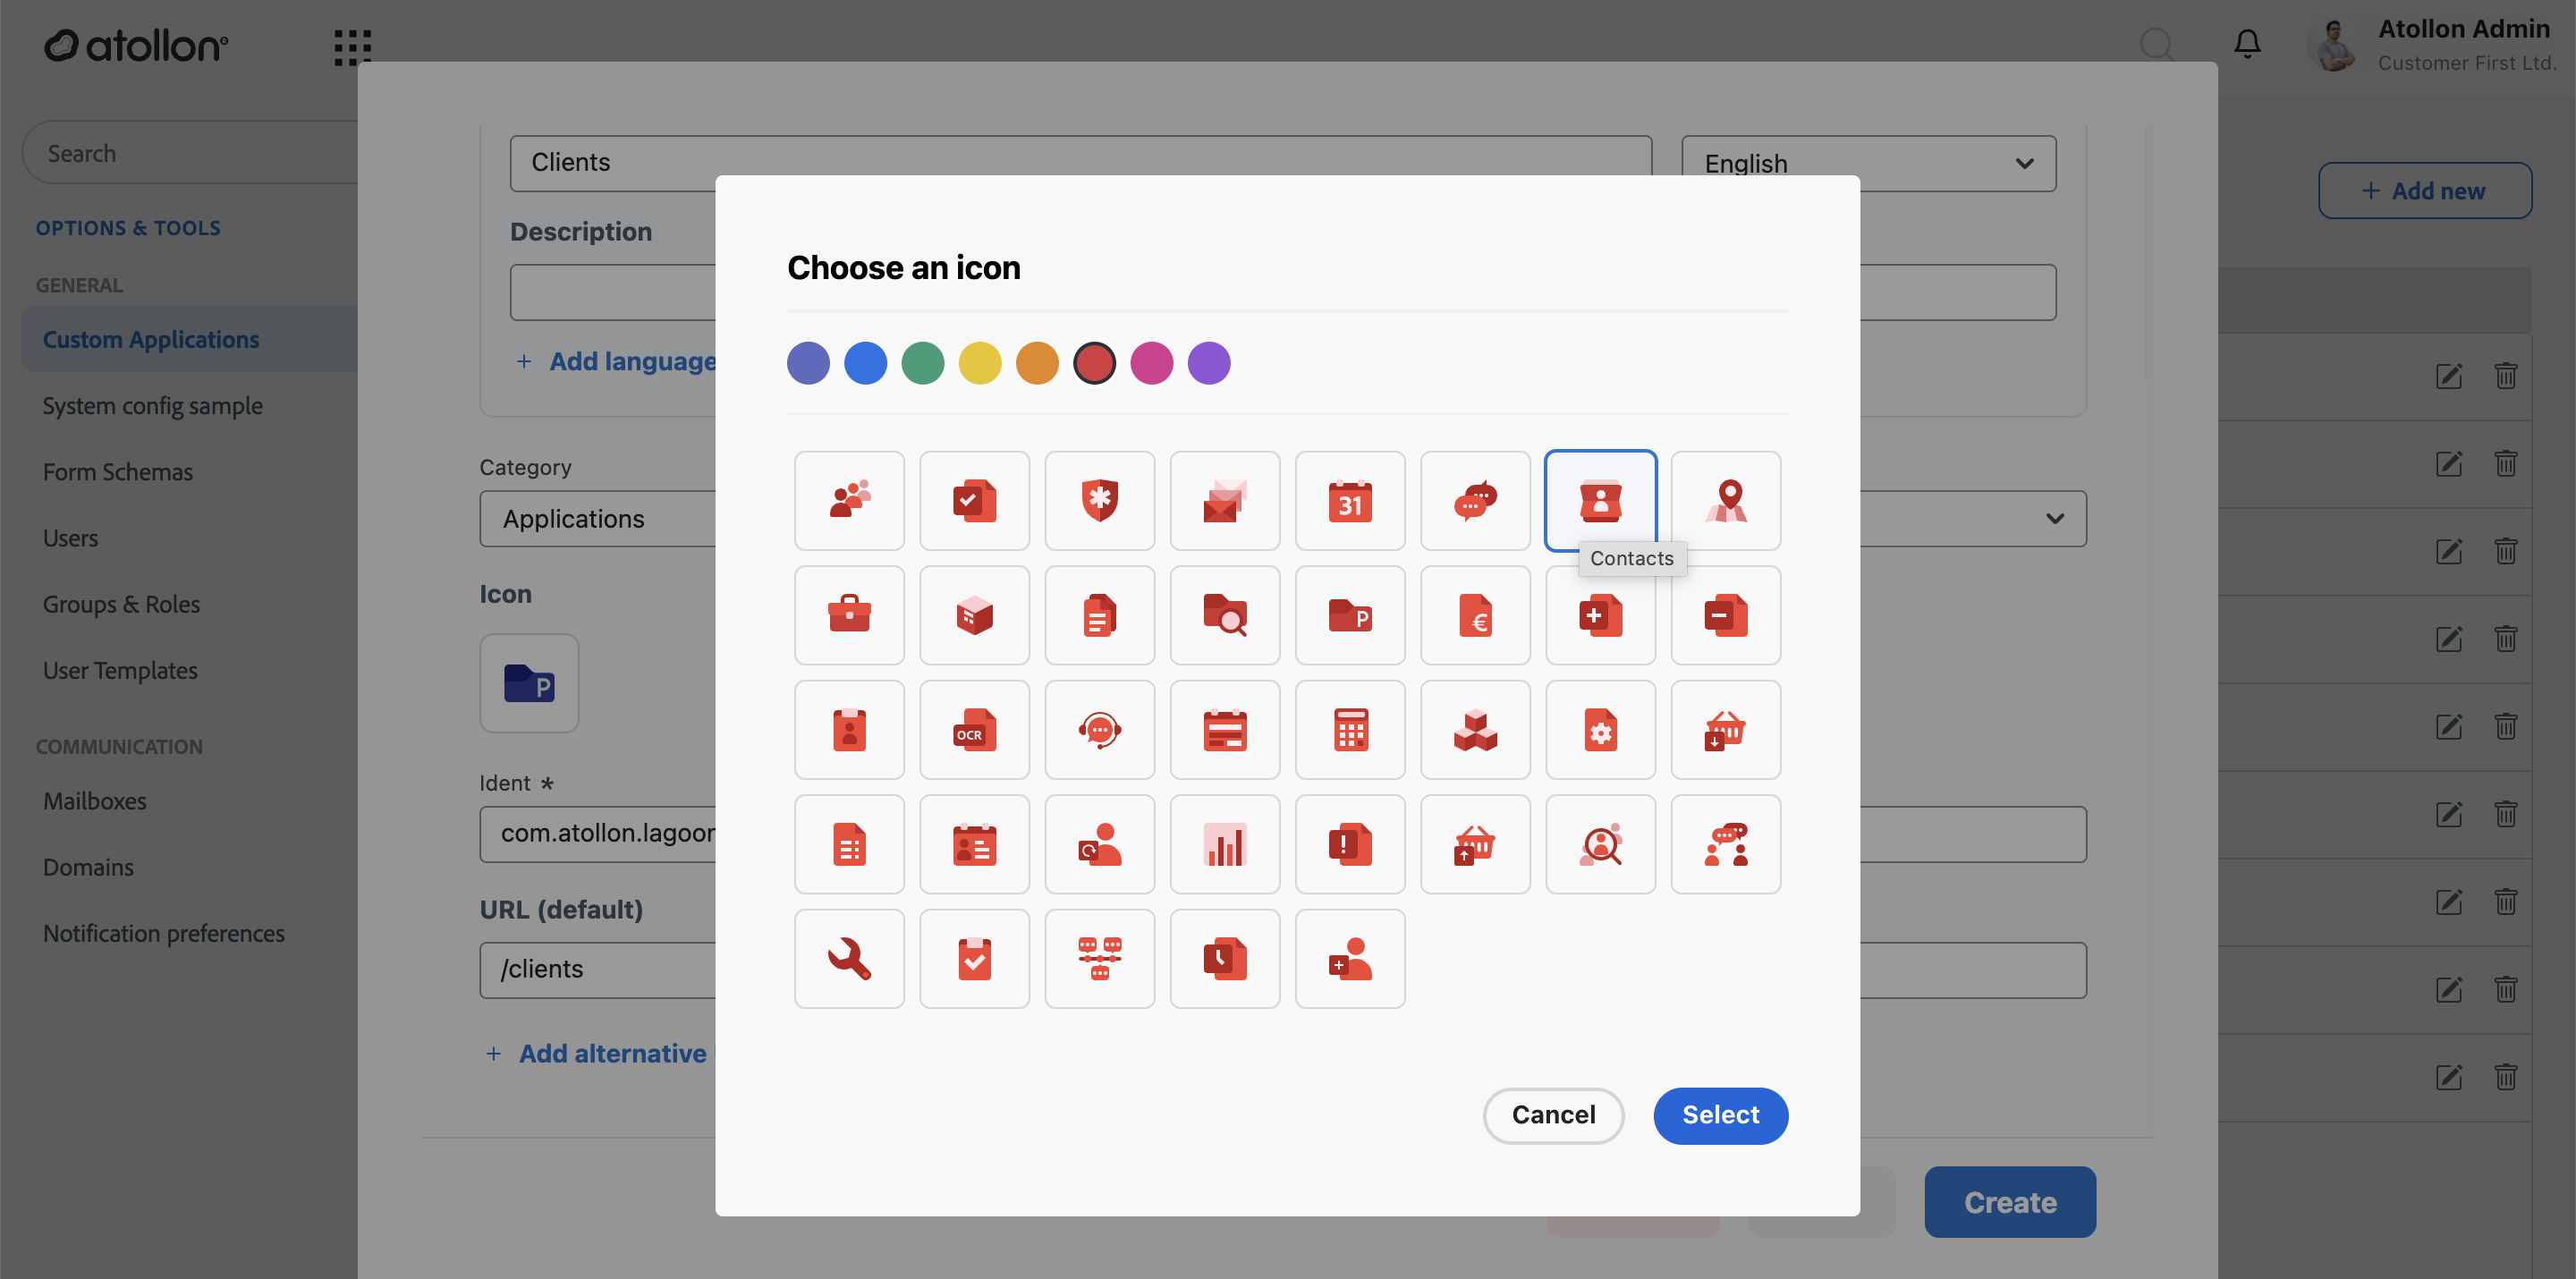
- Icon — choose a colour and symbol; this is the app's identity in the launcher and tab bar.
- Ident — the unique technical identifier (for example
com.atollon.lagoon.general.customApplication.clients). Generated from the name; change it only with care, integrations may reference it. - URL (default) — the app's address, for example
/clients. Add alternative URLs if the app should answer on more than one path.
- Select Create.
Result
The application appears in the Custom Applications list and in the app launcher, reachable at its URL (for example https://<your-instance>/clients). Opening it shows an empty list until views are configured.
If some users don't see the new app in their launcher, check the language localisations first — the app only appears in interface languages it has a name for.
Next steps
- Manage form schemas — define which system and custom form fields the app's lists can display and filter.
- Configure custom views — create the shared views (columns, filters, sort order) users will start from.
Related
- Custom Applications — what custom apps are and why
- Working with views and filters in custom apps